How to Lay Paving Slabs: A Step-by-Step Guide for a Perfect Patio
- Creations Building & Landscaping

- Mar 27
- 3 min read
At Creations, we know that a well-laid patio is the foundation of any great outdoor space. Whether you're upgrading your garden or starting from scratch, understanding how to lay paving slabs properly ensures a durable, level, and professional finish.
This guide walks through the full process, combining our hands-on experience with practical advice to help you achieve long-lasting results.
Tools and Materials You’ll Need
Before starting, it’s important to gather everything required to avoid delays during installation.
Typical essentials include:
Paving slabs of your choice
Sharp sand and cement
MOT Type 1 sub-base
Spirit level and string line
Rubber mallet
Trowel and shovel
Plate compactor (or wacker plate)
Measuring tape
Preparation is key—having the right tools ensures both accuracy and efficiency throughout the project.
Step 1: Plan and Mark Out Your Patio Area
A successful patio starts with precise planning.
We begin by marking out the area using string lines and pegs, ensuring the layout is square and correctly aligned. At this stage, it’s also important to consider drainage—your patio should slope slightly away from the house to prevent water pooling.
Step 2: Excavate the Ground
Next, excavate the area to the correct depth.
For most patios, we recommend digging down approximately 150–200mm to allow space for:
Sub-base (100mm)
Mortar bed (30–40mm)
Slab thickness
Removing all vegetation and loose soil is essential to prevent movement or sinking over time.
Step 3: Install the Sub-Base
A strong sub-base is critical for a long-lasting patio.
We install MOT Type 1 in layers, compacting it thoroughly using a plate compactor. This creates a solid foundation that prevents shifting and ensures your paving remains level for years to come.
Take time on this step—it’s where many DIY installations fail.
Step 4: Prepare the Mortar Bed
To properly lay paving slabs, a full mortar bed is essential.
We typically use a mix of 4 parts sharp sand to 1 part cement, creating a workable but firm consistency. The mortar is spread evenly to support each slab fully—avoiding voids that can lead to cracking.
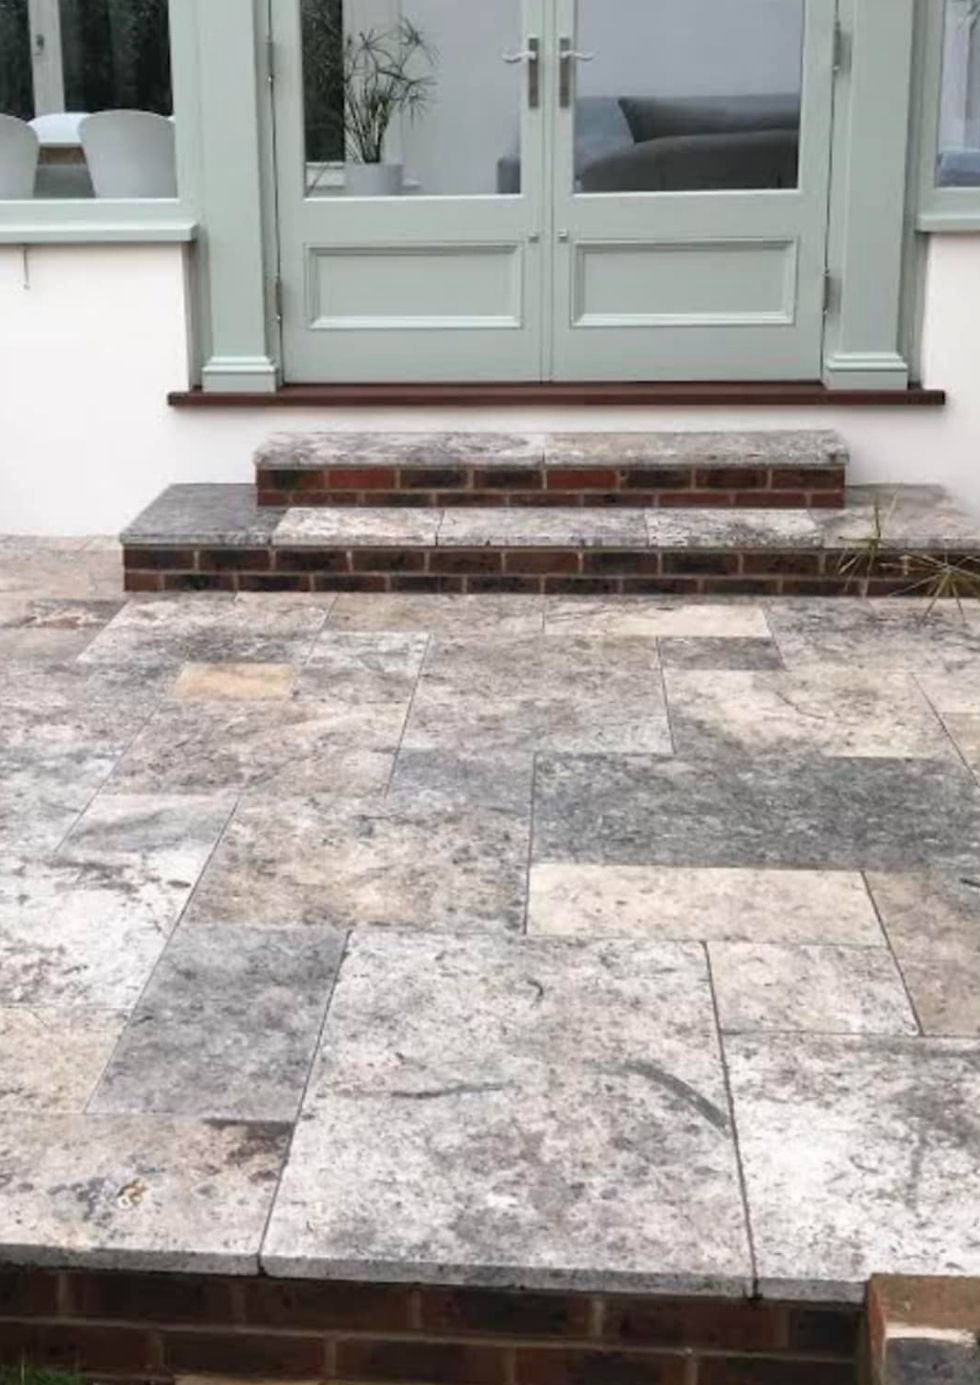
Step 5: Lay the Paving Slabs
Now comes the most rewarding part—laying the slabs.
Each slab is placed carefully onto the mortar bed, then tapped down with a rubber mallet. We use a spirit level to ensure every slab is even and aligned with the required fall for drainage.
Consistent joint spacing is key to achieving a clean, professional finish.
Step 6: Point the Joints
Once the slabs are set, the joints need to be filled.
This can be done using:
Traditional sand and cement mortar
Ready-mixed jointing compounds
Proper jointing locks the slabs in place, prevents weed growth, and enhances the overall appearance of the patio.
Common Mistakes to Avoid When Laying Patio Slabs
Understanding how to lay patio slabs also means knowing what to avoid.
Some of the most common issues we see include:
Skipping or under-compacting the sub-base
Using spot bedding instead of a full mortar bed
Poor drainage planning
Inconsistent slab spacing
Avoiding these mistakes ensures your patio not only looks great but performs well over time.
Why Professional Installation Matters
While it’s possible to lay paving slabs yourself, achieving a high-end finish requires experience, precision, and the right equipment.
At Creations, we specialise in delivering expertly installed patios that are built to last. From groundwork to final detailing, every stage is handled with care to ensure a flawless result.
Final Thoughts
Learning how to lay paving slabs is the first step toward transforming your outdoor space. With the right preparation, materials, and attention to detail, you can create a patio that enhances both the look and functionality of your garden.
For those looking for a professional finish without the hassle, working with experienced installers ensures your investment stands the test of time.


Comments